Microsoft Word is the most widely used word processor out there, the template from which most other word processors are adapted, including Google Docs. It includes powerful features that are perfect for editors collaborating with clients and colleagues.
Because of this, all editors need to know how to utilize Word's Review features. This article will outline some of the features and explain how to use them.°
Tracking Changes
Whereas Google Docs has Suggesting Mode, which lets you track any edits made to a document, Word's analogous feature is called "Track Changes."
You can find the Track Changes feature in the "Review" tab of the Ribbon (the toolbar at the top of the window):
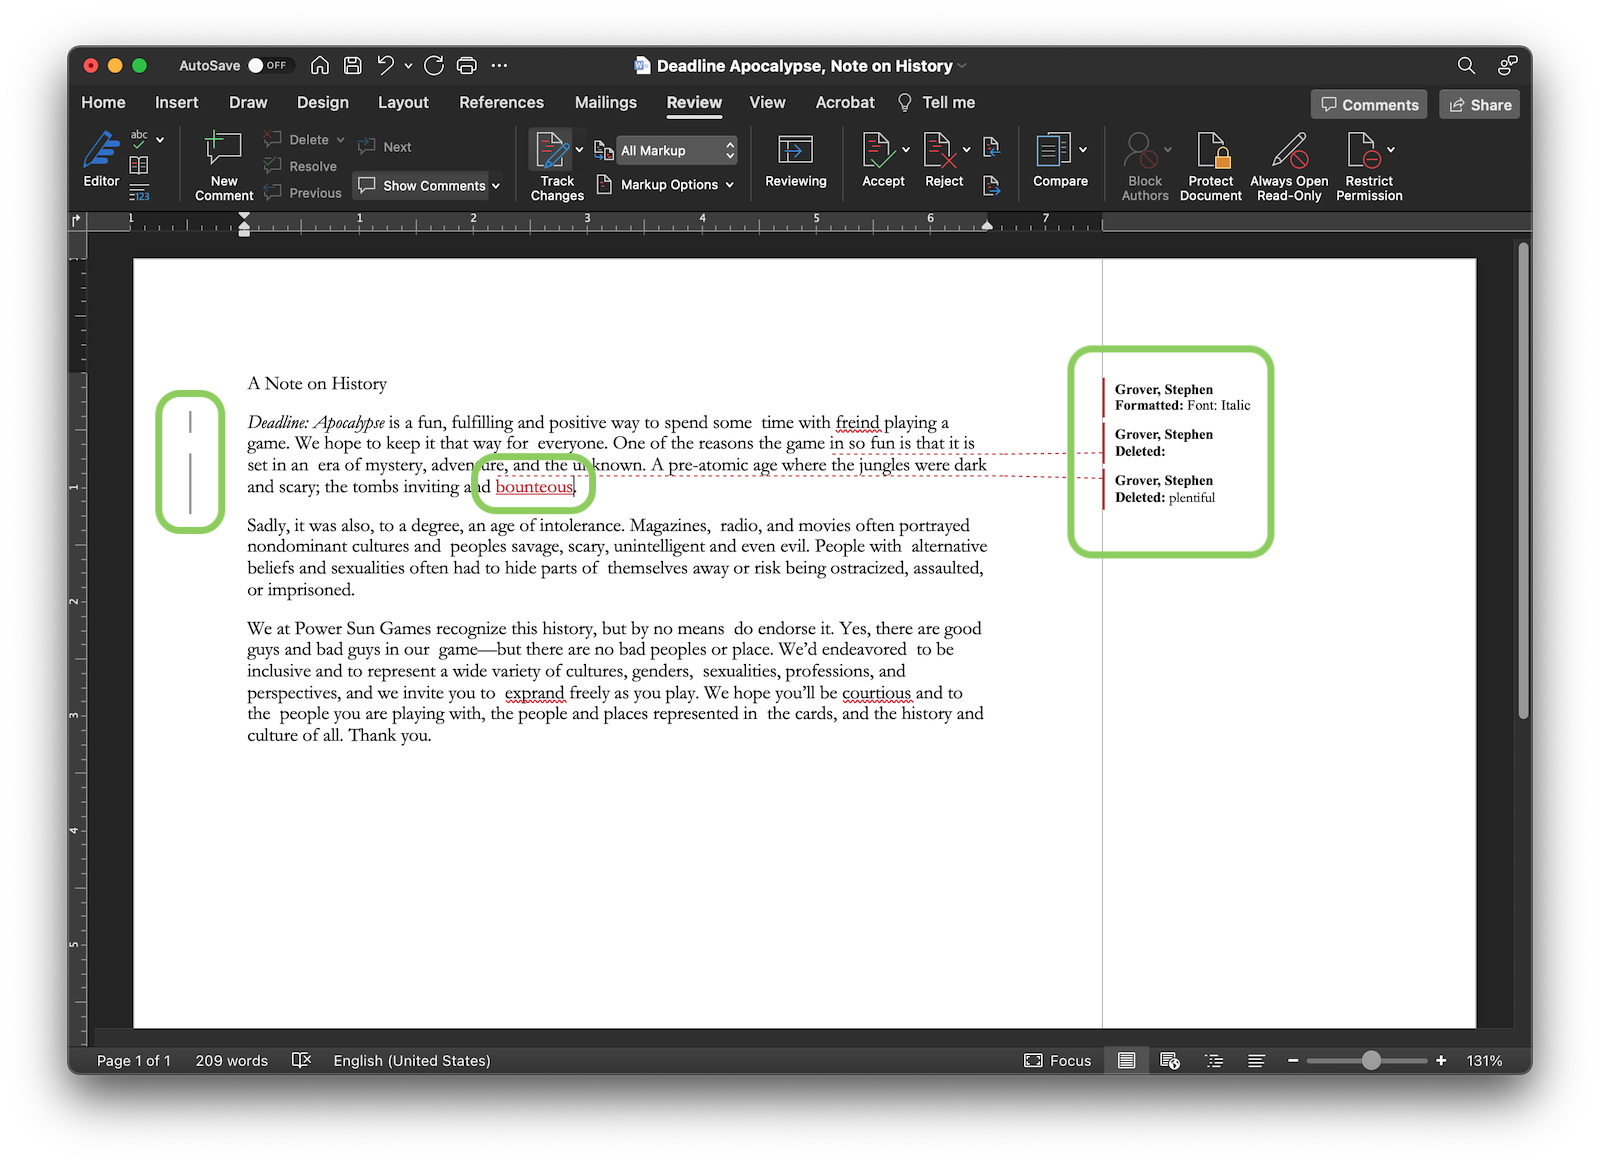
You can click the button to enable Track Changes (it appears as a toggle switch in some versions), which will highlight or otherwise mark all changes made to the document:
Clicking the button again will disable Track Changes, allowing you to input changes without them being marked.
Accepting and Rejecting Changes
As with Google Docs, you can easily accept or reject changes to a document. Right-click any change—either in the text or in the margin—to bring up a pop-up menu. There, you can choose either "Accept Change" or "Reject Change":
- If you accept a change, the highlighting and comment will disappear, and the edit will become a normal part of the text.
- If you reject a change, the text will revert to whatever it was before the edit was made.
When working as part of a group of editors, this is an easy way to review and resolve other people's work, leaving the document stronger as a result.
You can also use buttons in the Ribbon to move back and forth through the changes in order and accept/reject them:
Note: Unlike Google Docs, Word doesn't offer any convenient way to go back and view the accepted and rejected changes after they've been accepted or rejected. If you need to keep a record of changes, it's best to save a copy of the document to work in.
Adding Comments
Microsoft Word allows you to add comments in the margins of the text; this function is perfect for leaving queries for the author or questions for your fellow editors to weigh in on.
To add a comment, highlight any amount of text and then right-click and choose "New Comment" from the pop-up menu. (Alternatively, you can click the "New Comment" button in the Ribbon or choose "Comment" from the "Insert" menu.)
As in Google Docs, these comments can be responded to, allowing you to create a threaded discussion among editors or with an author. Just click on a comment to reveal a text box in which you can reply.
Clicking the three dots in the corner of a comment will give you the option to resolve or delete the comment thread. "Resolving" a thread hides it from view.
Resolved comments are hidden from view, but you can still access them if you need to. In the Ribbon, choose "List" from the "Show Comments" dropdown selector to open a dedicated Comments pane that includes both active and resolved comments:
Changing How Markup is Displayed
Sometimes you might want to hide the tracked changes or comments from view so that you can focus on the text itself. Next to the Track Changes button in the Ribbon is a dropdown selector with the following options for viewing the document:
- Simple Markup leaves the comments and changes visible, but it minimizes how obtrusive they are
- All Markup is the default when working with the Review functions of the ribbon; it fully displays the comments and changes.
- No Markup shows what the document would look like if all the changes were accepted
- Original shows what the document would look like if all the changes were rejected (that is, what it looked like before any editing began).


